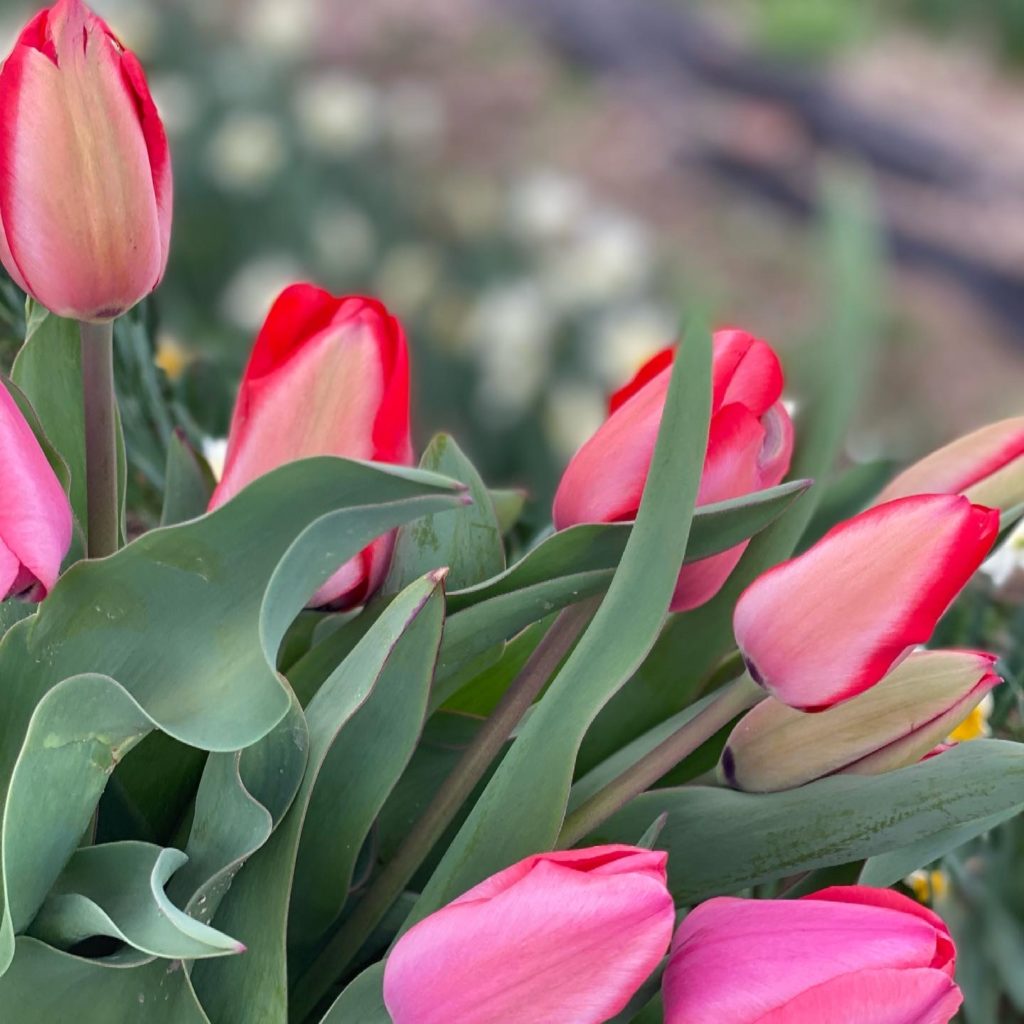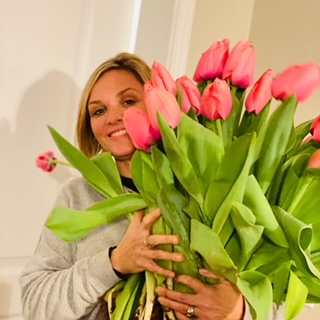
There is just something about spring! A new season. A new beginning. The crisp fresh air. Everything starts to green up and come to life. It’s a beautiful time of year. The farm starts to gain color with one of our first spring crops… Tulips! It’s where your fall planting of tulip bulbs shows their beauty.
I mean, who does not love tulips! I had never grown these or truly appreciated them till I started on this adventure of flower farming. Now, they are a staple in my garden and planted in my life forever.
They make this flower farmers heart swoon! Each variety blooms in a different part of Spring, so you have to be aware if you are purchasing an early bloom or a late bloom. We always try to have a mix to get a good blend and extend the season. There are many different varieties to grow. Most common varieties most people know are: Darwins, Singles, Doubles, Fringed, Emperor, and Parrots. They come in so many colors: pinks, purples, yellow, white, green, reds, and the list goes on.
So when should I plant tulip bulbs?
Tulips are winter hardy through zones 3-8. Here in Western Kentucky we are in zone 7 (we will explain that in another post). You want to plant tulip bulbs in the fall or very early winter before the ground freezes! I have planted as early as late September to mid-December. The reason you plant tulip bulbs in the fall is because the bulb likes to have 12-16 weeks of weather at or below 40 degrees Fahrenheit. The cold weather allows them to get established.
Don’t forget bulbs need food too!
In commercial farming, we dig 4 feet wide troughs that are about 6-8 inches deep. Before I place the tulips in the ground, the little trick I’ve learned is to spread bonemeal down in the trough. Bonemeal creates a phosphorus and calcium rich fertilizer to feed the tulips through the winter. It gives them that extra little boost to get established.
There are so many different types of bulb fertilizers you can use and you have to be careful when using fertilizers. I prefer using Espoma. It is certified organic through the USDA. Here is the link to the Espoma Bonemeal we purchased on Amazon. It can be hard to find in the big box stores so delivery for the win!

Get to Planting!
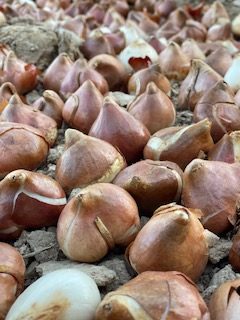
When you are ready to start planting, tulips are individually placed one by one, with the pointed side up. They can be planted very close to together. Think of eggs in an egg carton. That’s how close they can be! Once we have them all placed, we simply re cover them with the moved soil and wait till Spring.
NOW!!! You’re probably like wait just a minute… I’m not digging a trench! I don’t blame you! So, here’s the best way to plant in your garden. You can either dig a 6-8 in hole or you can use a handy dandy bulb planter that I ordered on Amazon that attaches to a cordless drill!!! (Yes, I had to buy my own cordless drill because I kept taking my husbands. Oops!) I prefer a planter that is longer in length to limit the amount of bending required, that will dig deep enough, and is about 3” wide because bulbs come in all sizes. If you decide to use the bulb planter, simply attach to your drill, pull the trigger and get to planting! Same method as above, use a little bonemeal, bulb goes in pointed side up, and cover.
Depending on the temperature when planted will determine when you will start to see the tulips begin to emerge. If I plant in November, I will typically start to see them pushing above the soil by the end of December and full bloom by end of March/April.
Happy Planting!
Mallory

Items recommended for Bulb Planting:
*As an Amazon Associate, MLH Farms LLC, earns from qualifying purchases.*
